Wednesday, July 18, 2012

Baby quilts, and California

Lots of things going on 
the last few months...
A new grand-daughter joined 
the family...
Of course I had to make a quilt!
Finished quilt to the left.
I tried to load the photo's
in order for explanation...
Of course, they're backwards.


Why wouldn't they be?
Fourth down shows my
design sketch...
 I had found a great
microfiber piece of dark brown
at a thrift store...
I thought how perfect for
girl or boy.
My son and his partner
had opted not to find out
the gender of baby before birth.
When I found out it was a girl,
I went and picked up several pieces
of a great line of fabric...
in pinks, oranges, aqua and brown.

Then I designed a simple quilt I could add
an applique to personalize and add to.
However when I began to sew it together,
I found the designs which all looked
so great together in the store...
Were a little busy for my taste.
third picture down
So to help it out,
I added a dark frame around the applique.
second picture down.
This is how I usually work.
With a beginning design or idea...
and the freedom to allow myself to break out
of the box if I feel the need.
To help it out and tie it all together.
The center of the flower
 is the same lovely soft microfiber
used on the back of the little quilt.
The top photo is the finished product.
It was loved by the recipients.

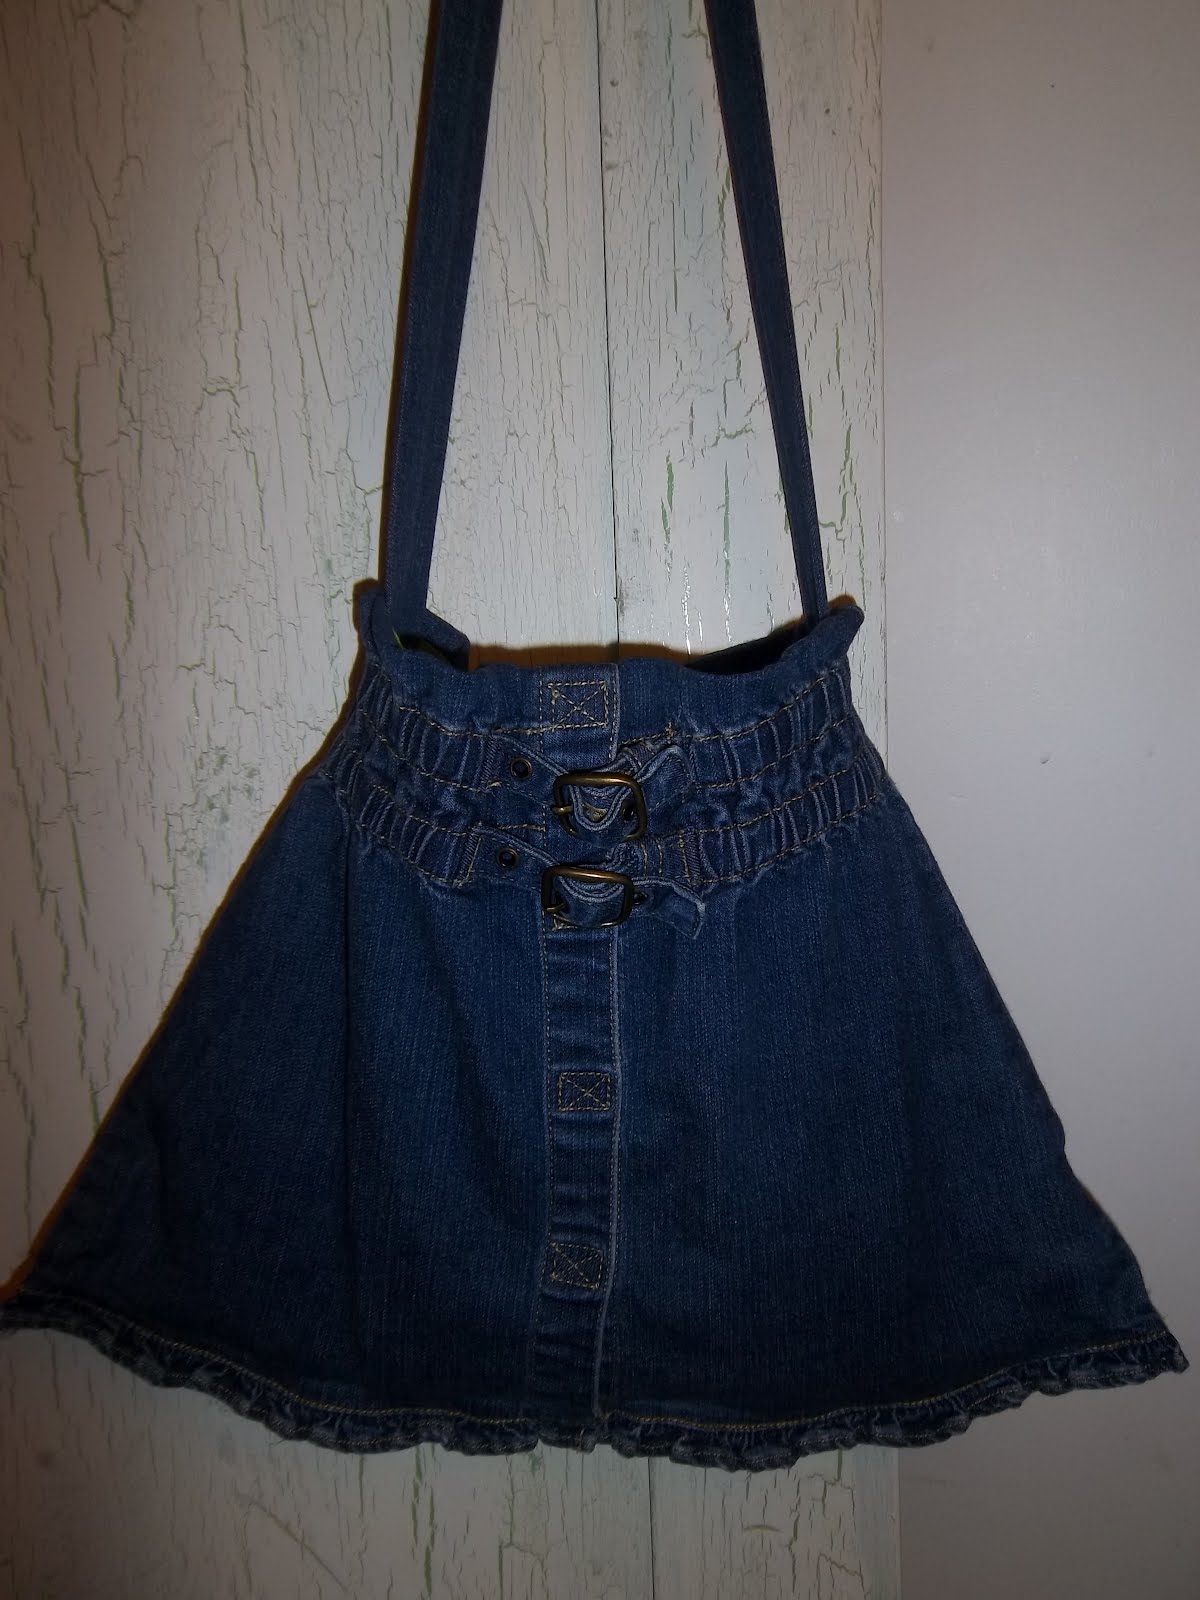
Because the piece was found at
a thrift shop,
it really wasn't quite large enough...
So it also has a border the was pieced
from the front fabrics.
I forgot to take a photo of the back.
Typical of me...

I also finished the third square
in my traveling applique project.
(See earlier posts
for more details on the project)

I also got the 4th block ready to begin,
but as yet.
There has been no fabric cut
and no stitches taken ...
 Also during the past few months,
and probably why I've not gotten more
accomplished...
I've been on the road,

In Utah my husband and I went
over to see the new City Creek Mall
in down town Salt Lake City.
You might notice in the photo's
(this one and the next)
that there are not a lot of people around.
This is because we chose to go over
and walk around and view it on
a Sunday afternoon.
All the stores in this mall
are closed on Sunday's.
(I think some of the restaurants are open tho.)
Including Tiffany's, Michael Kors,
and Anthropologie... Yes I admit,
I'm doing a little name dropping.
The city of Salt Lake, took several block
-and closed them off to cars.
Raised the City Creek from being piped underground,
to create a waterway through the center of the mall.
There is also an awning/roof that closes
over the top of many sections during
inclement weather...
There is a fire pit at one end,
Waterfalls and fountains,
Ponds with fish, sculptures, etc.
Beautiful, a lovely place for a Sunday afternoon stroll.
I'll have to go back for a shopping day sometime.
Meanwhile,
On a quick trip back to Canada...
We found a lot of rain,
the lake was higher than we've ever seen it.
A friend said it was a fifty year high.
I think it's been amended since then to
a 100 year high.
We still saw a little beach at the
Lakeside Park in town,
but friends there shortly after we were
said the water was up on the grass in the same park.

We also went to California for a
 family reunion...
some or our activities in California,
included a trip to Columbia State Park
on July 4th.
Columbia is an old mining town
near Angels Camp where we stayed.
Right is a picture of my oldest son
and his two kids panning for gold.
They didn't find any,
but they were panning for hours.
They had fun...
Because it was the 4th,
We were treated to all kinds of sites,
The cannon was fired,
the flag was raised,
We pledged allegience,
We saw a demonstration on loading and
firing powder packed long riffles,
There was a parade as well.
We spent time wandering up the street
looking in several shops,
buying some candies, and drinks.
(Water and soda)
Great day -hot,
we were ready to hit the pool at the place
we were staying at.
Another day at the reunion,
We drove south to see Yosemite.
It's always been one of our favorite places
in California.
A little to far to go very often...
But always a treat.
Hiked in to see 2 of the many waterfalls.
(the easiest ones)
It was kind of crowded with tourists
from around the world,
and hot, very hot.
Loved it tho.
Another day we went to see the
town of Murphy's
We saw some shops,
bought some candies LOL.
Had an ice cream.
Enjoyed the company of family.

While in California we also
went to a swimming hole
near the brother in laws cabin.
Everyone who wanted to
took a dip in the river...

Others took to trying out the rope swing.
One of the nieces thought the water was Icky.
Her dad and grand-dad said it was
because of the river water,
It was natural and not full of all those
chemicals they put in the swimming pools.
She could not be convinced it was OK to get in.
Especially when she saw fish swimming around.
She was the only one having the problem 
with having live things swimming around...
The little boys were out there trying
to catch the fishies with their hands.
My grand-daughter is on the rope swing in photo.
Too much fun.

We also spent an afternoon at Calaveras Big Trees.
Another California state park.
While we do not get to Yosemite because of the distance
very often. Calaveras is closer to the family homes,
and it's also a favorite place to go when we can get to California.
I forgot to upload any pictures of the big trees. Maybe another time.

Also, you might notice that there are no pictures with the gnome,
I decided he was too hard to carry around everywhere.
I'm going to have to figure something else out.

Wednesday, April 18, 2012

My Farmer's Wife Sampler Quilt


                                                       I am so excited to share the beginning stages
                                                       of my "Farmer's Wife" Sampler Quilt.                       
                                                       I've had the book for quite awhile...
                                                       But I had been struggling to decide what type
                                                       of colors and fabrics I wanted to use.
                                                     
 I finally decided to use the reproduction 30's-on                     Feed-sack inspired prints.                                                               (there may be others included if they fit)

Because I am having issues with my computer
right now, I drafted my own patterns on graph-paper.

The first block is called Attic Windows
So I thought of what one might see out the window,
                                                 With curtains and the walls...
                                                 However - I seem to have had some serious problems
                                                      with the first block.
                                                      Problems with accuracy.
I spent some time embroidering cute little
designs -a blue bird, and some flowers...
but the block was so off that I decided
I really had to start over again.
This time I just used what I hoped would look like
A flower garden.
I'm thinking I'll use the really bad
really inaccurate blocks for something else
where the size doesn't matter.
Maybe pockets in a tote bag or something.
The second set (the bottom of the four)
turned out much better.
The bottom picture is the second block...
Called Autumn Tints
So I selected what I hoped would give
an Autumn feel.

I'm liking what I see so far.
                                                      But I'm wondering if I made the right choice
                                                      for the color/fabrics.
                                                      I may decide to do a third quilt with another
                                                      fabric/color choice. Just to see what happens.
                                                      I mean "why not?
                                                      I'm not in a hurry to get the quilt done...
                                                      I'm doing one block at a time...
                                                      It's an exercise in improving my quilting abilities
                                                      and accuracy...
                                                     
meanwhile, I have a lot of other things on the cutting board to work on... More things to Up-cycle, more things to sew, a couple of other quilts to make... My travel applique quilt I've been working on. (I really like having multiple things going on at the same time -I think I really must have a bit of Attention Deficit Disorder.
Because I don't do so well at working on one thing from start to finish without a dead-line. Ha Ha Ha. I will post as things get done. 

Monday, April 16, 2012

Up-cycling among other things...

Last Blog had information about Chemo Caps,
I had finished some more
so I thought I'd share them...
I had been playing with different stripes.
the blue and orange are the colors
of our local College football team.
(BSU Bronco's -they're very popular here)


There has been a lot of stuff going around
on Facebook and Pinterest about Up-cycling...
It's something I've done all my life...
Taking an item no longer in style or use,
and turning it into something else you will use.
So I thought I'd share something...
This is a toddler dress I picked up at
a local thrift shop. I paid 3$ for it.
It was a size 4T.
It had a few problems,
and would probably not be purchased by someone
to actually use on a toddler.
I took some paper a bit bigger than the dress
and sketched a simple outline of the skirt
and waist area that I wanted to include in the bag;
Making a pattern for the lining.
my motto is the KISS plan...
Meaning,
Keep It Simple Stupid.
no reason to make anything harder
than it needs to be.
and besides,
I probably wouldn't finish it if it were.

I used my rotary cutter and a straight edge
to cut the top of the little dress
away from the bottom.
Leaving enough to fold over
and attaching the lining to.

Then I scrounged through my fabric
scraps and other pieces
looking for a piece the right size
that I liked with the denim skirt.

Found a lime green with white polka dots.

Used the long sleeves to cut
for the shoulder straps.
Again I used the rotary cutter
and the straight edge ruler.
I cut them 4" wide to form a tube...
I didn't think they were quite long enough,
so I added a piece from the back of the top.

I liked the little pockets on the front
of the top, so decided to use them for a
pocket on the inside of the bag.

I cut the top front into a rectangular shape,
not really measuring for a size...
but rather, to fit the pockets into it.
I used another piece of the lining fabric
to line the pocket.
Because the front had an opening,
I could sew around the entire piece
and still be able to turn it right side out.

Then I centered it on one side of the lining,
and stitched the pocket down.
I decided to top stitch down one side
of the center front, forming 2 pockets.
With the little pockets, there are now 4
to use for different items.
I believe my cell phone fits in one of the
smaller original pockets.

after sewing the lining together,
and sewing it inside the skirt.
I stitched the bottom of the skirt
along the existing hemline,
leaving the little ruffle free.
Added the shoulder strap.
And Wah Lah, I have a cute new bag.
Up-Cycling.
I have some more projects I've
picked up at the thrift store.
A striped Linen Shirt, another toddler skirt,
some vintage linens and table cloths... I will try to take photo's of before
and after to share here in the blog.
Also, I am starting the Farmer's Wife Quilt this week...
Yeah!!!
Finally!!!
So there are things to look forward to.

Monday, March 19, 2012

quilts, knitting, and traveling

Almost done with block 3 of my travel quilt...
"My whimsical Garden"
from Piece O' Cake Designs
Yes, I am using the same colors
but different fabric prints than they used.
I love their color scheme so why take the time changing
something that didn't need changing.

I have also been knitting hats...
Along with my church women's group,
for the local Cancer treatment center.
I thought I'd share the pattern we are using;
as well as some of the things we have learned about
the needs of the patients.

Our group did some research into the needs...
actually we asked a mom who is part of our group what is actually needed and wanted in a Chemo Cap...
this is what she told us. (You may want to check with people in your own area)
-the hat needs to fit somewhat snugly and not need to have the brim rolled up.
-they do not want to be uncomfortable; and they do not want to feel like they are too warm and need to remove the hat indoors. They don't want to take them off in public.
-the yarn needs to be soft.
I've included 2 photo's the first one has several finished caps,
some a little smaller than others. and the second has several unfinished caps.
I wanted to display the variety of colors and stripes and just
fun things to do with the simple pattern.

Chemo Caps
Caron Simply Soft Yarns
Sz 8 needles (5.0mm)
To start, cast on 72 stitches. and begin a rib pattern for approx. 1 1/2".
We used the k2 p2 pattern.
(If you notice the pink hat in the first picture, I did a seed stitch pattern for the rib.)
Switch to the stockinette stitch for the remainder of the hat.
-k 1 row, p 1 row...repeat.
at 5 1/2" you begin the decrease rows.
Row 1: *k4, k2 tog, repeat from * across row (should now be 60 sts)
Row 2: p 1 row
Row 3: k 1 row
Row 4: p 1 row
Row 5: *k3, k2 tog, repeat from * across row (should now be 48 sts)
Row 6: p 1 row
Row 7: *k2 tog, repeat from * across row (should now be 24 sts)
Cut off about 18"-24" and thread a yarn/tapestry needle.
Pull through the remaining stitches on the needle, and remove from the needle.
Cinch tightly (use care not to break the yarn LOL, don't ask how I know this)
Sew from the top down using the same yarn piece.
Hide all ends. You have a Chemo Cap.
Remember to have fun, play with stripes... play with colors...
Use boy colors, as well as girl colors, think of the colors of the local colleges,
high schools, sports teams, etc.

now...
I've always thought it would be fun
to have an object I take with me on my travels
that I can include in the photo's...
I have purchased this Gnome
you can see in the photo to the left...
Here he's among the Tulips coming up in front of my home.
and in the next photo...
He's on the step in front of my home.
now, I'm not positive yet,
that this is what I want to use as my travel companion,
he is about a foot tall.
Won't be easy to take some places.
Maybe I should find something more like "Flat Stanley"
Or maybe I should find something less popular,
something unique for me...
Hmmmmmmm.
The jury is still out contemplating the verdict. But I will be doing a lot more traveling now, so I need to make up my mind soon. Until I do, I will be using the Gnome... Whom I have named George.

Friday, January 6, 2012

part 2, photo's and machine applique

Finished the nephew's wedding quilt
still need to mail it to him...
I'll put the photo of that one on the side...
then was inspired by autumn in British Columbia (Canada)
to make a quilt for my son and his girlfriend for Christmas.
I chose 3 types of leaves from the book pictured...
Made simple outline drawings...
actually folded the paper in half and cut out the side I liked the best for symetrical leaves.
I went through my stash of fabric, scraps, FQ's, etc.
selecting all sorts of autumn colors...
I didn't use any color more than once.
Pinned the leaves to the background fabric,
I used a white on white print
mostly because I had a bunch of it-
and I thought the multiple colors would all go with it
without any problems.

I used a straight stitch in a matching thread
to baste the leaves to the background fabric
and then selected a zig zag to finish the sewing.
this is not the only way to machine applique
it is the method I used for this project...
the basting allows you to get rid of all the pins
so they're out of the way when zig zagging.
on curves...
I leave the needle down on the outside of the curve
and pivot the fabric a few stitches at a time...
it makes a smoother curved edge.
on a corner...
I have yet to find a better way than
stitching right to the edge,
leaving the needle down in the outside corner of the edge...
pivoting the fabric and continue zig zagging over the stitches.
I have seen other quilters narrow the zigzag going into the corner,
and widden it coming out of the corner.
But I haven't the patience for that on the quilts I make as gifts
for family members who don't really care about that stuff.
Maybe I'd try that method if I were going to enter a quilt show?
who knows?

I also found the cutest fabric in a remnant bin,
it was a bright green with pink and orange butterflies...
I just screamed at me to take it home and make a little girls quilt.
So I also picked up some pink and orange, and lighter greens for relief...
and then found a great flannel piece for the backing (mostly pink)
I just played around,
making several 9-patch blocks,
sewed a small 1" finished border around each square,
pink on some-orange on the others. used the butterfly print as the outside border...
fussy cut a few butterflies out of the small left over pieces,
and machine appliqued them down (same method as above)...
and wallah...
had a second quilt as a Christmas gift for Christmas.
It went to the same house as the autumn leaf quilt...
my sons girlfriend has a 3 1/2 year old daughter...
sooooooooooooooo,
watch the side for the photo's of the completed quilts...
1) the nephew's wedding quilt
2) the son's autumn leaf quilt
3) the little girls quilt

I'm ashamed to report,
that I didn't do very well on my quilty new years resolutions I set last year.
Too many things kept me sidetracked...
However the one I did follow through on,
was not buying lots of new fabric for my stash...
I only purchased fabric to complete projects.
Or rescued things from the thrift store/yard sales...
but I did try to keep that to a minimum.
the only thing I bought at a frabric shop without anything in mind...
Happened to be those pieces that called to me-
and were immediately made into that butterfly quilt for the little girl.
So I think I did pretty well there.

I think I'll roll those resolutions right on over for the new year...
now that my daughter is back at University (BYU-Provo)
1) back to my sewing room, yeah! and a bit of organizing there
2) get one of those kits I picked up in the past done and finished
-fortunately one is a small wall hanging- I think that's the one I'll do first
3) keep working on my traveling applique quilt
4) start that farmer's wife quilt I have been wanting to do
-I have finally decided that I really want to do it in 30's reproduction fabrics
5) I need to make a quilt for another son and his wife as a Christmas gift next year
6) keep working on using my stash, only making purchases to finish stuff
7) get one of my UFO's done

I think that's quite enough... we'll see if I do better this year than last
(Oh, and I still have to do the winter block for my calendar wall hanging cover...LOL)
FYI
FQ -means fat quarter's
UFO -means unfinished objects
LOL -means laugh out loud (when I put that in, I really am laughing at myself)
FYI -means for your information